Lecture
Now you are familiar with the structure of the sidebar, and we continue to work on it, and in particular on the display of links to pages. When we finish the standard sidebar, I'll show you how to widget it.
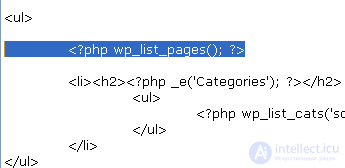
Add the following code at the top of the Categories block:
<? php wp_list_pages (); ?> 
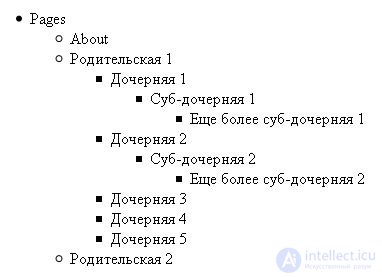
Save and refresh your browser. By default, you only have one page - About . I added more pages and sub-pages to the blog for example, so I have four levels of nesting. Here’s how it should look:

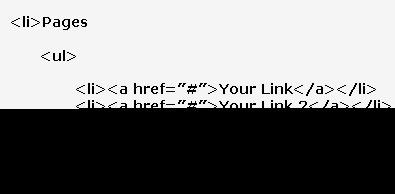
Open the source of the page in your browser to see that the wp_list_pages () function has generated the rest of the structure and code. Here is an example:

First, it places the list item ( LI ) everywhere. Secondly, it gives the nomenclature the name Pages . Thirdly, it adds another unnumbered list ( UL ) under the heading Pages, inside the list item. Also, it surrounds each link with <li> and </ li> tags.
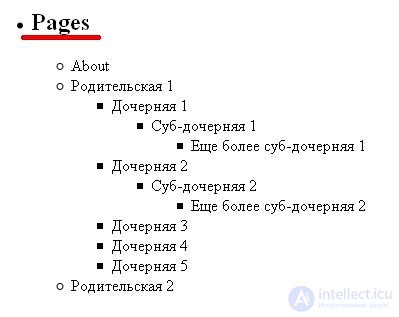
Please note that the “ Pages ” heading is not the same size as the “ Categories ” heading for listing links to categories.
How to make them match? Add 'title_li = <h2> Pages </ h2>' to wp_list_pages () .

Save the file and refresh the browser to see the changes:

title_li is an attribute that serves to select the appearance of the title for a list of links to pages. <h2> Pages </ h2> is the value of the title_li attribute.
Further design:
In my example, you saw 4 levels of pages. Some design types cannot cope with so many levels within the sidebar. To limit the number of levels to display, add the depth attribute to the wp_list_pages () function and set the number of levels for it, for example, 3 .

Please note, I added depth = 3 & , but not just depth = 3 . The & sign stands there to distinguish between the depth and title_li attributes . If you only have an About page or no embedded pages, you will certainly not notice the difference.
The difference on my list will be noticeable. Compare this screenshot with the one above:

Comments
To leave a comment
Content Management Systems (CMS)
Terms: Content Management Systems (CMS)