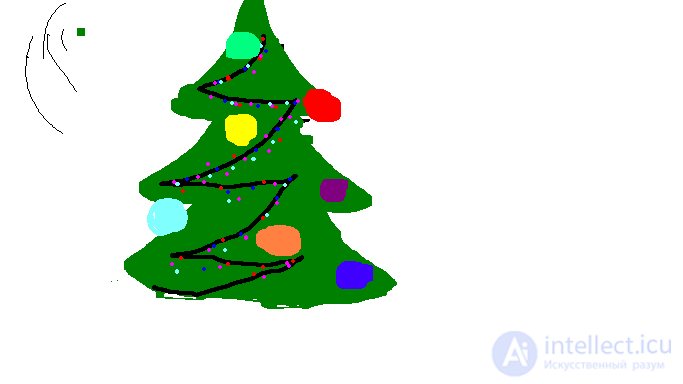
Convenient, fast, simple and quite functional Paint - in order to draw online and share with friends

Let's create a picture of a Christmas tree. Here are some steps you can follow:
Draw the top of the Christmas tree. It can be in the shape of a star or a cross.
Draw the basic shape of the Christmas tree. It usually has the shape of a triangle. First draw the outline of the triangle, then add twigs at each level.
Add the Christmas tree twigs. They can have the form of small triangles or wavy lines. Add twigs along the entire outline of the tree, from top to bottom.
Apply appropriate colors to the tree. Use shades of green and brown to give it a realistic look. You can add lights and shadows to emphasize the shape and volume of the tree.
Draw garlands and decorations on the tree. They can be multi-colored balls, lights or small rotations. Add them evenly throughout the Christmas tree.
Add snowflakes or sparkles. They can add a sense of magic and celebration to your drawing. Place them all over the Christmas tree, distributing them evenly.
Draw the stand for the Christmas tree. It can have the shape of a circle or a rectangle. Add details such as stripes or bows to emphasize the stability of the tree.
Add snow or a frosty effect to the tree. You can use white or add small white dots on the branches to give the impression of snowflakes or snow.
Finish the drawing by adding a background or additional elements. For example, you can add a sleigh, gifts or a snowy landscape around the Christmas tree.
Remember, this is a creative process and you can experiment with colors, shapes and details to create a unique and festive Christmas tree design that matches your own style and imagination.