
Lecture 8 min.
Many plugins provide their users with options and settings that let them configure the plugin. As a plugin author, you have several ways to implement this. One is to let the user edit the PHP code, but most users would find that inconvenient. A more familiar option is to create a special page in the administration area for managing the plugin's options.
This article explains how to add your own administration menu to WordPress. It assumes that you are already familiar with the basics of Writing a Plugin and the Plugin API of actions and filters.
The first step in creating your own administration menu is to decide which WordPress system menu it belongs to. Most plugins add their menus to an existing top-level WordPress menu. Here is a guide to what belongs in each top-level menu:
Settings
Displays plugin settings that are available only to the administrator (see also Creating Settings Pages).
Manage
Displays the management of links, posts, categories, images, etc.
Plugins
Installing/removing, activating/deactivating and editing plugins.
Presentation / Appearance
Managing themes/style files, the sidebar, etc.
Write / Posts
Creating content (posts and pages).
Users
Managing users.
If your plugin introduces an entirely new concept or feature to WordPress and needs more screens to do so, you may create a new top-level menu for your plugin. This should be considered only if you really need several related screens to do something in WordPress that it was not originally designed for. Examples might include managing an image gallery, database administration, or managing a conference.
With the Custom Admin Menu plugin, users also have the option of deciding for themselves whether your plugin should take a top-level menu or not — you can let users know that they have this option, especially if you have chosen to create a top-level menu.
After the menu is added, the administration panel will look like this:
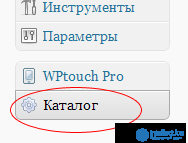
Now that you have decided where to add your administration menu/submenu, the next step is to tell WordPress about the new pages. To do this, you need to create a function and attach it to the 'admin_menu' action (an example is given at the end of the section).
The first thing to do is to create a top-level menu, if you have decided that your plugin really needs one. You will use the add_menu_page function:
add_menu_page(page_title, menu_title, access_level/capability, file, [function]);
Parameter values:
page_title - The text that will go in the HTML page title for the page when the menu is active.
menu_title - The on-screen name text for the menu.
access_level/capability - The minimum user level or capability required to see and use this menu page.
file - The PHP file that handles the display of the menu page content.
function - The function that displays the page content for the menu page.
Technically the function parameter is optional, but if it is not specified, WordPress will basically expect that including the PHP file will produce the administration screen, without calling a function. Most plugin authors prefer to put the page-generating code in a function in their main plugin file.
Once you have defined a top-level menu, or decided to use an existing WordPress top-level menu, you are ready to define one or more submenu pages using the add_submenu_page function. Make sure you add the submenu pages in the order in which they should appear.
add_submenu_page(parent, page_title, menu_title, access_level/capability, file, [function]);
Parameter values:
parent - The file name of the main WordPress administration file that provides the top-level menu into which you want to insert your submenu, or your plugin's file if this submenu goes into a custom top-level menu. (Examples: index.php, post.php, edit.php, themes.php, plugins.php, etc.)
page_title - The text that will go in the HTML page title for the page when the submenu is active.
menu_title - The on-screen name text for the submenu.
access_level/capability - The minimum user level or capability required to see and use this submenu page in the administration panel.
file - For existing WordPress menus, the PHP file that handles the display of the menu page content. For submenus of a custom top-level menu, a unique identifier of the submenu page.
In situations where a plugin creates its own top-level menu, the first submenu usually has the same link title as the top-level menu, so the link would be duplicated. The duplicate link title can be avoided by calling the add_submenu_page function with identical values for the parent and file parameters.
function - The function that displays the page content for the menu page.
Technically, as with the add_menu_page function, the function parameter is optional, but if it is not specified, WordPress will basically expect that including the PHP file will produce the administration screen, without calling a function. Most plugin authors prefer to put the page-generating code in a function in their main plugin file.
Here is a quick example showing how to insert a top-level menu page and a submenu page, where the title on the submenu page differs from that of the top-level page. In this example, my_magic_function is the name of the function that displays the first submenu page:
add_menu_page('Page title', 'Top-level menu title', 8, __FILE__, 'my_magic_function');
add_submenu_page(__FILE__, 'Page title', 'Sub-menu title', 8, __FILE__, 'my_magic_function');
Because most submenus go into the WordPress "Settings", "Manage" or "Presentation" menus, WordPress provides three wrapper functions that make it easier to add submenus to these pages:
For the top-level "Settings" menu (see Creating Options Pages for more details)
add_options_page(page_title, menu_title, access_level/capability, file, [function]);
For the administration panel
add_management_page(page_title, menu_title, access_level/capability, file, [function]);
For Presentation
add_theme_page( page_title, menu_title, access_level/capability, file, [function]);
Here is an example of a WordPress plugin that inserts new menus in different places:
<?php
/*
Plugin Name: Menu Test
Plugin URI: http://wordpress.org
Description: Menu Test
Author: Nobody
Author URI: http://example.com
*/
// Hook for adding admin menus
add_action('admin_menu', 'mt_add_pages');
// action function for above hook
function mt_add_pages() {
    // Add a new submenu under Options:
    add_options_page('Test Options', 'Test Options', 8, 'testoptions', 'mt_options_page');
    // Add a new submenu under Manage:
    add_management_page('Test Manage', 'Test Manage', 8, 'testmanage', 'mt_manage_page');
    // Add a new top-level menu (ill-advised):
    add_menu_page('Test Toplevel', 'Test Toplevel', 8, __FILE__, 'mt_toplevel_page');
    // Add a submenu to the custom top-level menu:
    add_submenu_page(__FILE__, 'Test Sublevel', 'Test Sublevel', 8, 'sub-page', 'mt_sublevel_page');
    // Add a second submenu to the custom top-level menu:
    add_submenu_page(__FILE__, 'Test Sublevel 2', 'Test Sublevel 2', 8, 'sub-page2', 'mt_sublevel_page2');
}
// mt_options_page() displays the page content for the Test Options submenu
function mt_options_page() {
    echo "
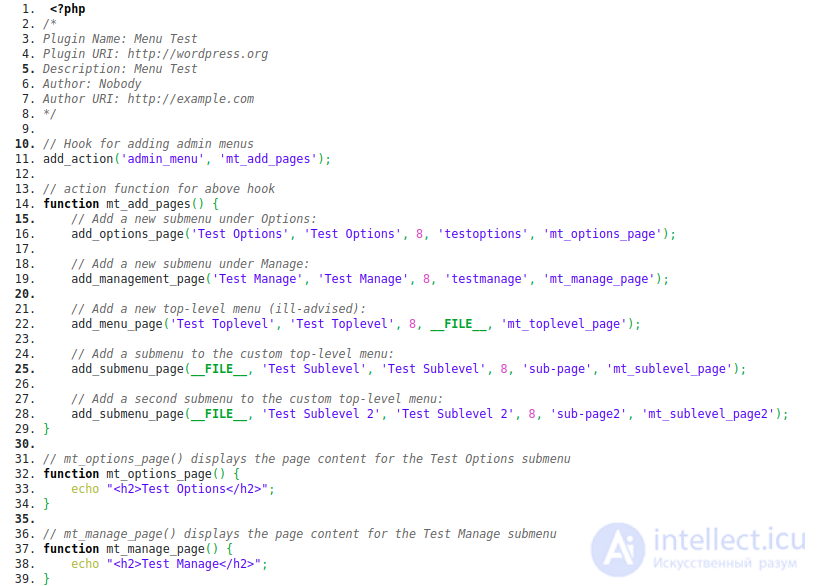
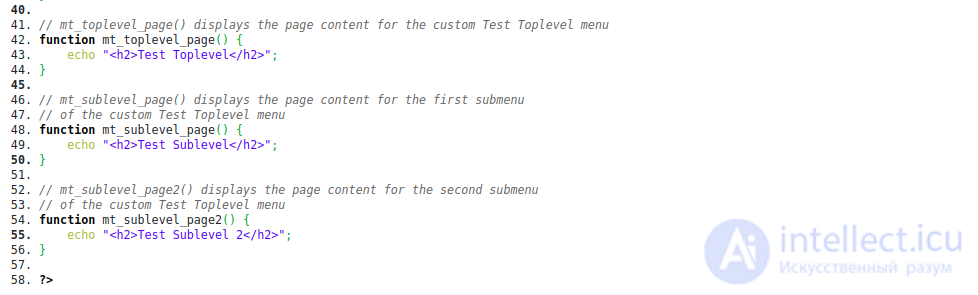
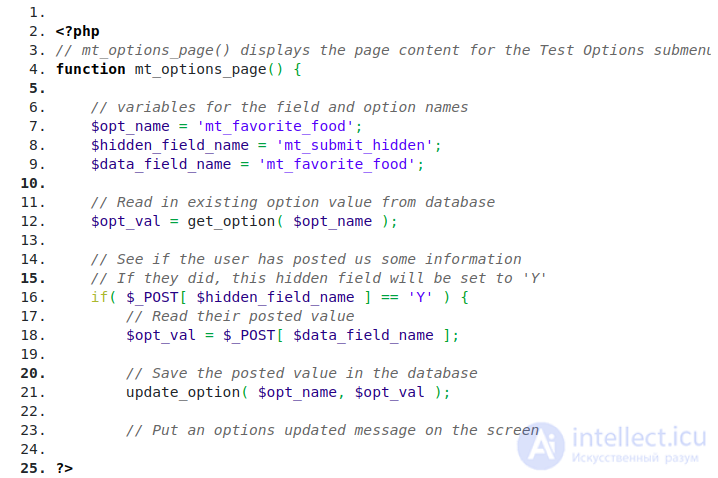
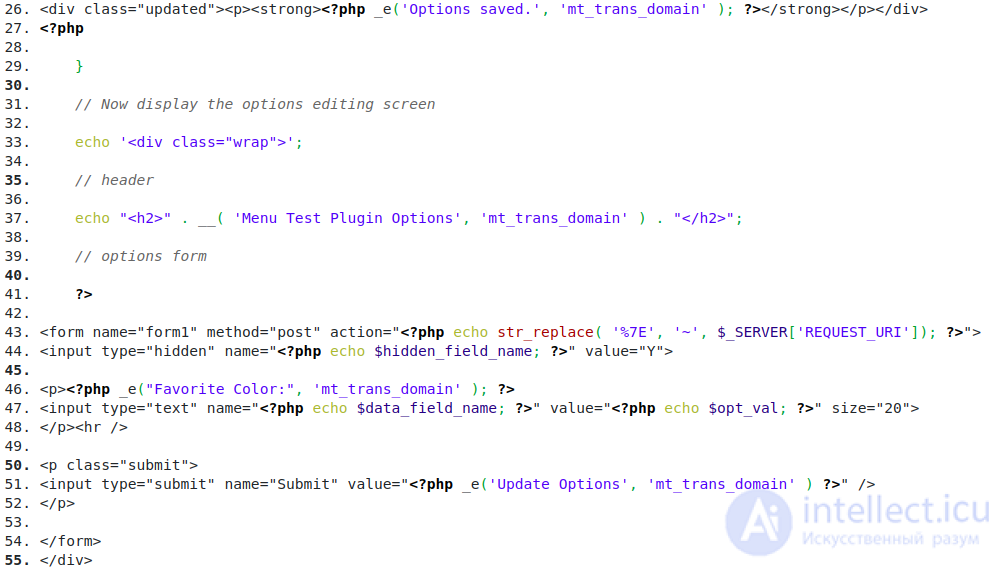
The example above contains several dummy functions, such as mt_options_page, as placeholders for the actual page content. We need to turn them into real menu pages. So, suppose our plugin has an option called mt_favorite_food, and that we want to allow the site owner to enter his or her favorite food on the plugin's options page. The mt_options_page function will need to place a data entry form on the screen to enable this, as well as process the submitted data. Here is a function that does this:


Comments