Lecture
In order to write programs - you need a development environment. In this lesson we will look at how to install and configure this development environment in detail.
I will describe the installation applicable to the Windows 7 operating system.
Lesson updated 02/02/2015
This article has a lot of screenshots and instructions. Keep in mind that software versions are constantly changing and everything may look different to you and versions may be different.
Because application development is conducted in Java, we need to download and install the corresponding SDK, also called the JDK (unless, of course, it is already installed).
Download here. Click there the nearest JDK Download button, choose the version for your operating system, download and install. If the link does not work, then simply google "java sdk download".
After installation, I recommend restarting the computer.
In the development environment, we will create a program and get the output of the finished application. Now there are several development environments, we will select the Android Studio recommended by Google. Download it here. Hit the big green button Download Android Studio for Windows if you have Windows. If you have a different operating system, then click Other Download Options and select the file you need from the table All Android Studio Packages .
So, downloaded the exe-file. Run it. Click Next until it asks for the path.
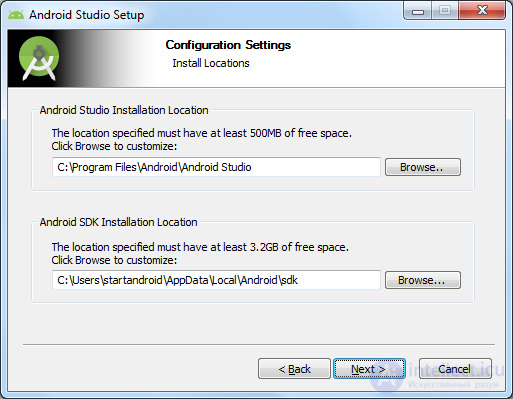
We are required to specify two ways. The first path will be used to install Android Studio. The second is to install the Android SDK (we'll talk more about it in more detail later).
Let's replace them with our own. To do this, create a directory android . Just in case, make sure that the path to it is without spaces and Russian characters. For example - <drive name>: \ android. I will have F: \ android. And this way we will substitute in a wizard.
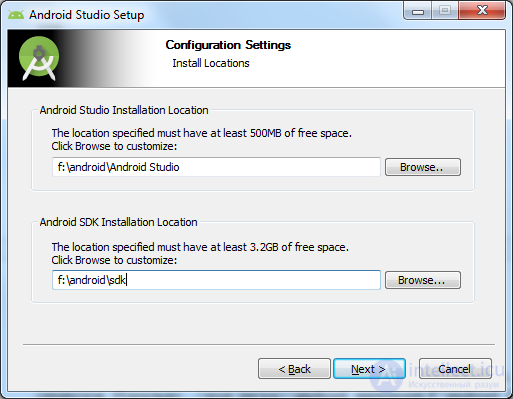
Click Next several times until the installation begins. When the installation is complete, Android Studio will start. If it does not start, then look for its shortcut in Start.
First of all, she will ask if you need to import settings from the previous version.
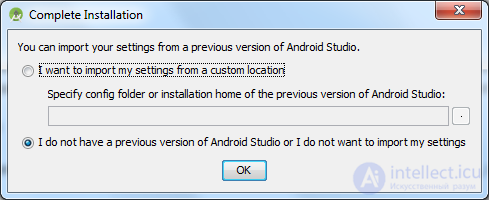
Leave the bottom item selected and click OK. We do not have old settings yet.
Next, it will search and install the missing components and updates.
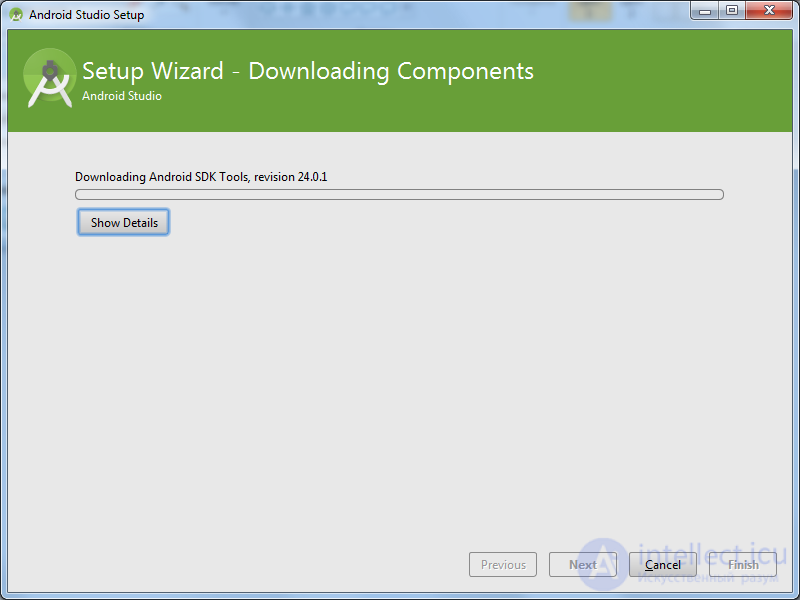
When he finishes, click Finish.
The start screen will open.
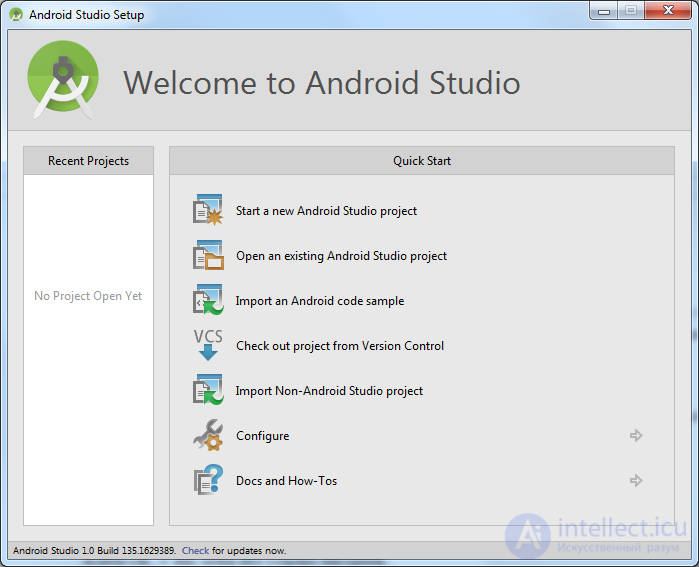
To develop and test applications, we need Android SDK platforms. In the opened Android Studio start window, click the Configure item.
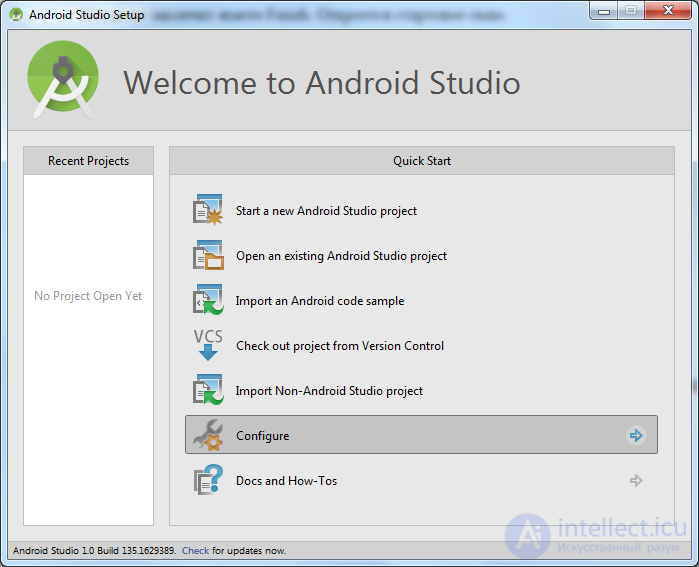
further SDK Manager
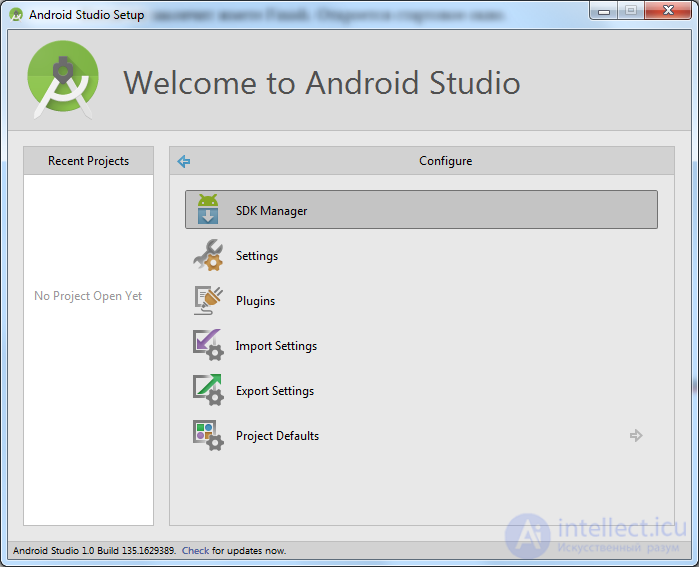
SDK Manager opened
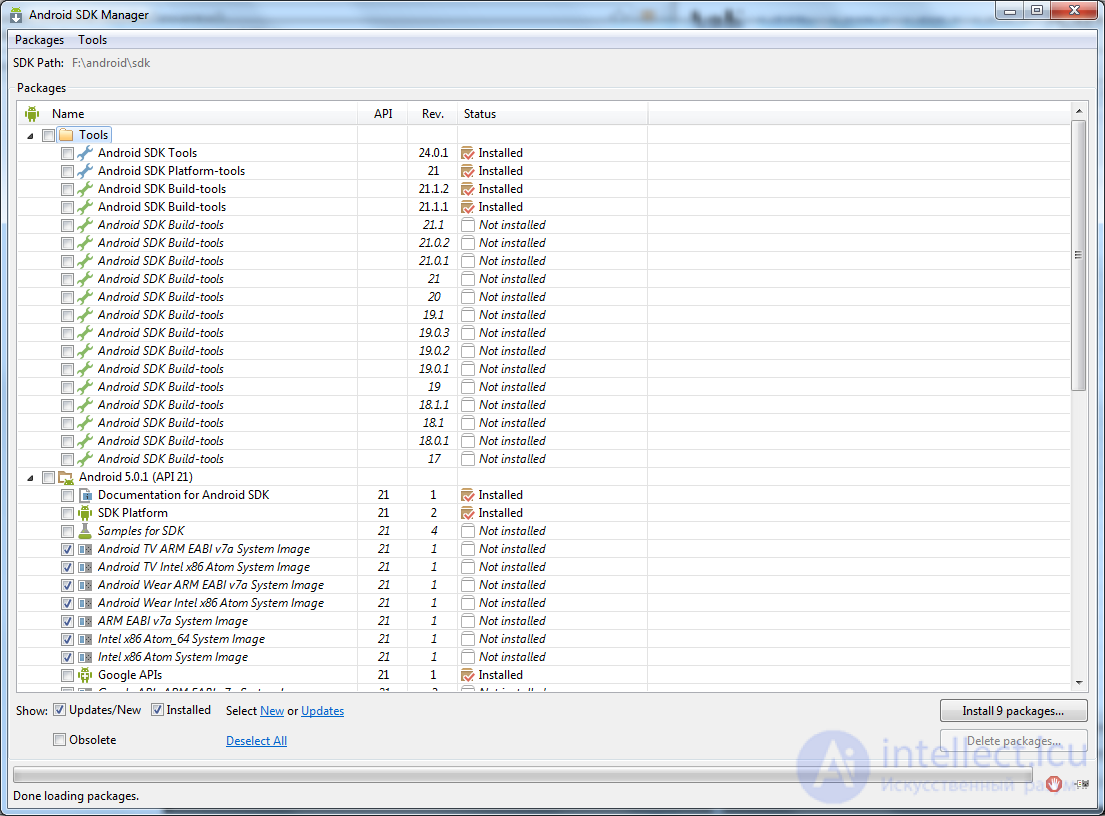
Here we are shown SDK components, which we can download, update or delete.
First comes the Tools folder - it contains the utilities needed for development for Android. Next comes the list of Android versions. And at the very bottom there is the Extras folder, which usually contains additional libraries.
To the right of each component in the list is its status: Installed - installed, Not installed - not installed, Update available - an update is available. I immediately automatically offer to update and install some components, checkboxes are included on them.
Click the Deselect All link below to remove all the checkboxes, and then Updates to select only those items that need updating. And for the time being we’ll leave it at that, do not load anything.
We are now interested in folders with Android version names. Currently, the latest available version is Android 5.0.1 (API 21). (When you read the lesson, there is likely to be a more recent version, use it to follow the instructions).
At least for development we need two components in this folder:
1) SDK Platform - used for development. In simple words, it contains all the software components of the Android system, which we will use when creating applications - i.e. windows, buttons, etc.
2) ARM EABI v7a System Image - an image of the Android system. Used to create an Android emulator, which will be needed to test applications directly on your computer, without connecting real devices.
Those. We will be able to create an application that uses the components and capabilities of Android version 5.0.1 and run this application on an emulator version 5.0.1. This is quite enough to start. Put daws on these two items in the Android 5.0.1 folder (API 21). In my case, the SDK Platform is already installed (the status is Installed opposite the SDK Platform item), so I check the box only for the image.

If you suddenly need other versions of Android, go to the SDK Manager and install this pair of components for the version you need.
From the bottom right, click the Install <number> packages button so that it installs all the components that we selected. Note that platforms can weigh several hundred megabytes.
A window appears with a list of installation (you may have other content)
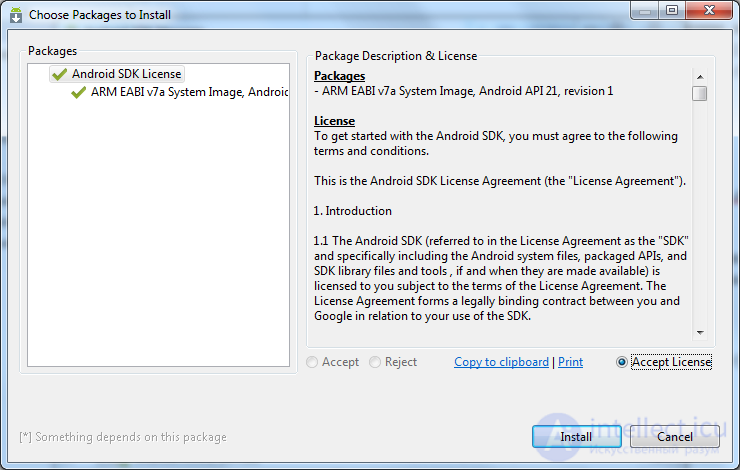
mark Accept license in it and click Install . The process has begun, percentages, kilobytes and seconds flashed from below. Upon completion of the process, the bottom will read Done loading package .
In the process may pop up such a window:
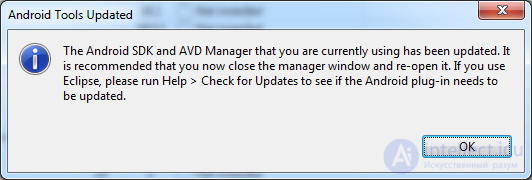
Click OK . It was he who suggested that we rediscover the AVD Manager window (about which we do not know anything yet). Also, he suggested we check for updates for Eclipse. But we do not have Eclipse, but Android Studio. Therefore, ignore.
After completing these steps, we got a development environment with which you can code Android applications. Perhaps these actions seem dull and boring, but without them in any way. Then it will go more fun. If something does not work or gives an error - try to watch the forum or google, for sure you are not the first to encounter such a problem and there is already a description of the solution on the network.
The idea is that the SDK Manager should be periodically checked in and checked for updates. But sometimes with these updates there are problems and you have to uncover Google and tambourine to fix everything. Therefore, I, perhaps, will not recommend you to be updated) The principle “works - don't touch” is very suitable. And if there is no experience, it is better not to risk it.
The same goes for Android Studio. She will periodically beg you to download and install updates. I strongly advise against doing this while you are new. After the update, you will hardly notice any innovations in the new version of the studio, and you can create a lot of problems for yourself.
In the next tutorial, we will configure the Android Virtual Device (AVD), create our first application, and launch it. AVD is a smartphone emulator with Android operating system, where you can run and test applications. Do not connect the same smartphone every time. We will also look at the structure of the application project.

Comments